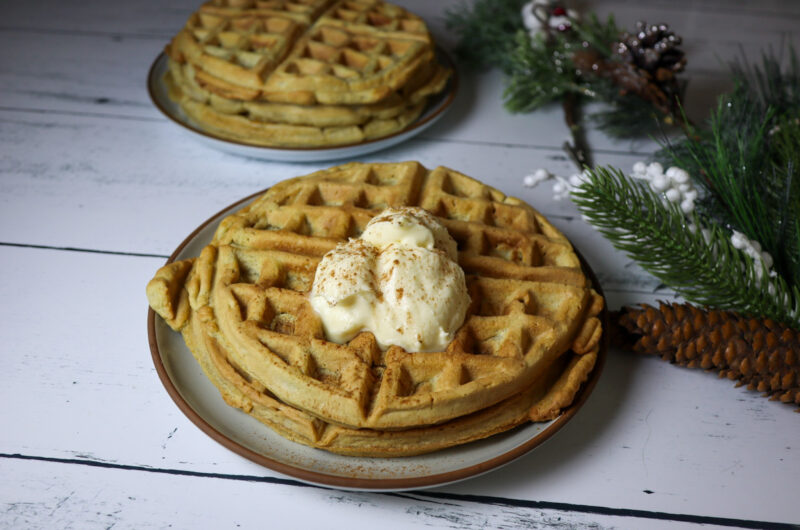
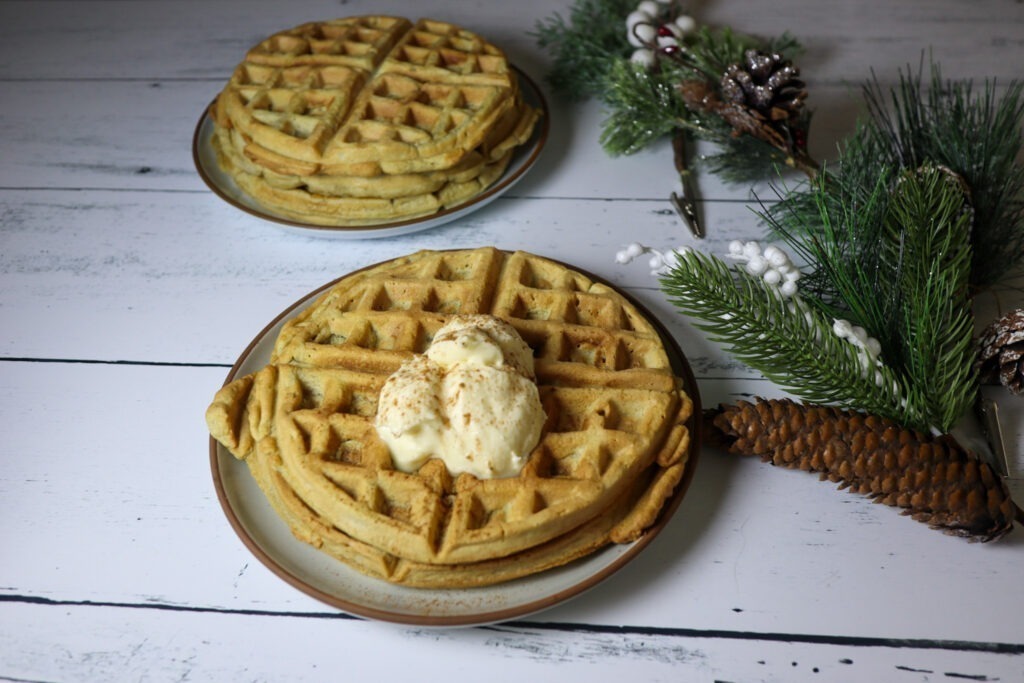
Gluten-free eggnog waffles are a delicious way to transform that extra eggnog into a breakfast sensation! These waffles are not just a treat for your taste buds but a cozy hug on a plate.
These delicious eggnog waffles are easy to make and packed with so much flavor. Plus, all you need are 10 simple ingredients, and you will have waffles that are crisp on the outside, fluffy on the inside, and filled with delicately spiced eggnog flavor.
Ingredients
- Gluten-Free All-Purpose Flour
- Cornstarch
- Baking Powder
- Granular Sweetener
- Salt
- Cinnamon or Nutmeg: Use whichever spice you prefer.
- Eggs
- Vanilla Bean Paste
- Butter
- Eggnog
How To Make Gluten-Free Eggnog Waffles
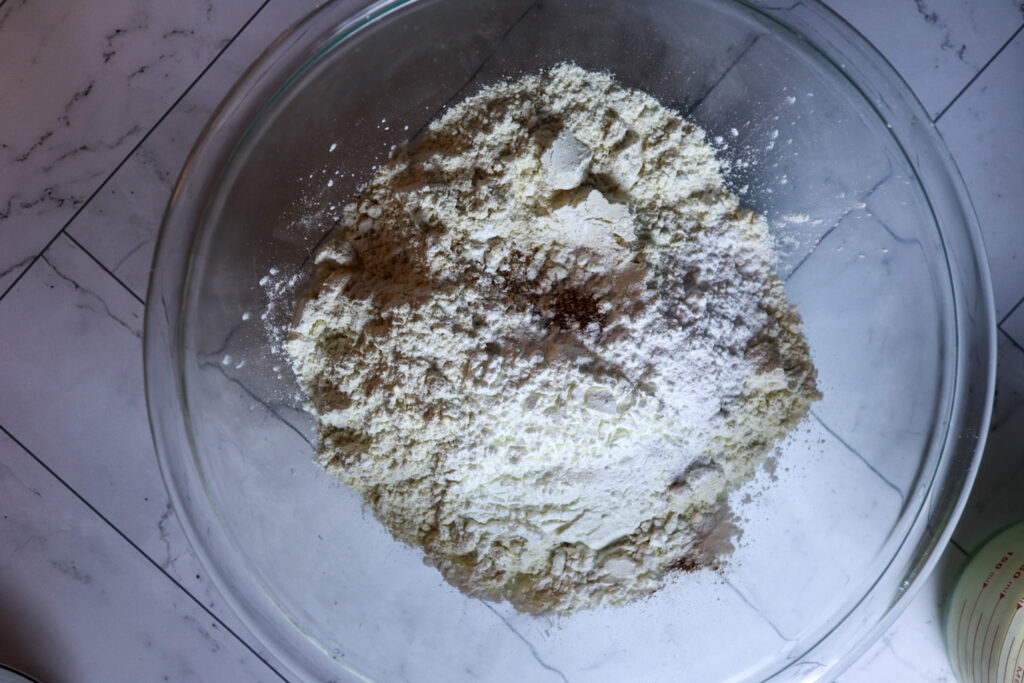
Mix the gluten-free all-purpose flour, cornstarch baking powder, granular sweetener, salt, and cinnamon or nutmeg in a large bowl until combined.
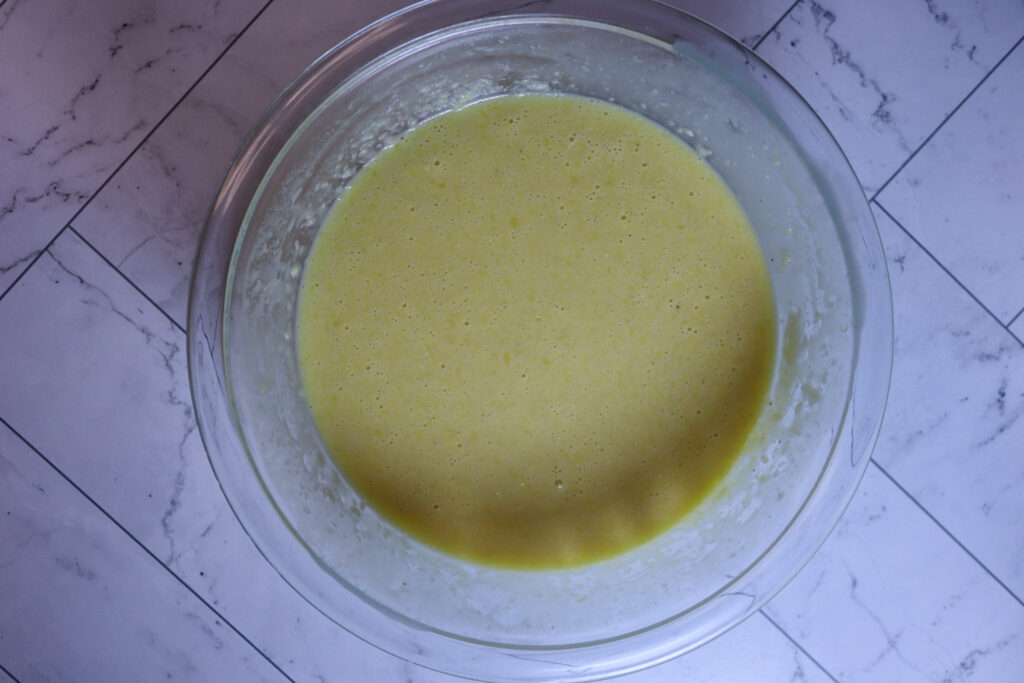
Mix the eggs, vanilla bean paste, melted butter, and eggnog in a medium bowl until combined.
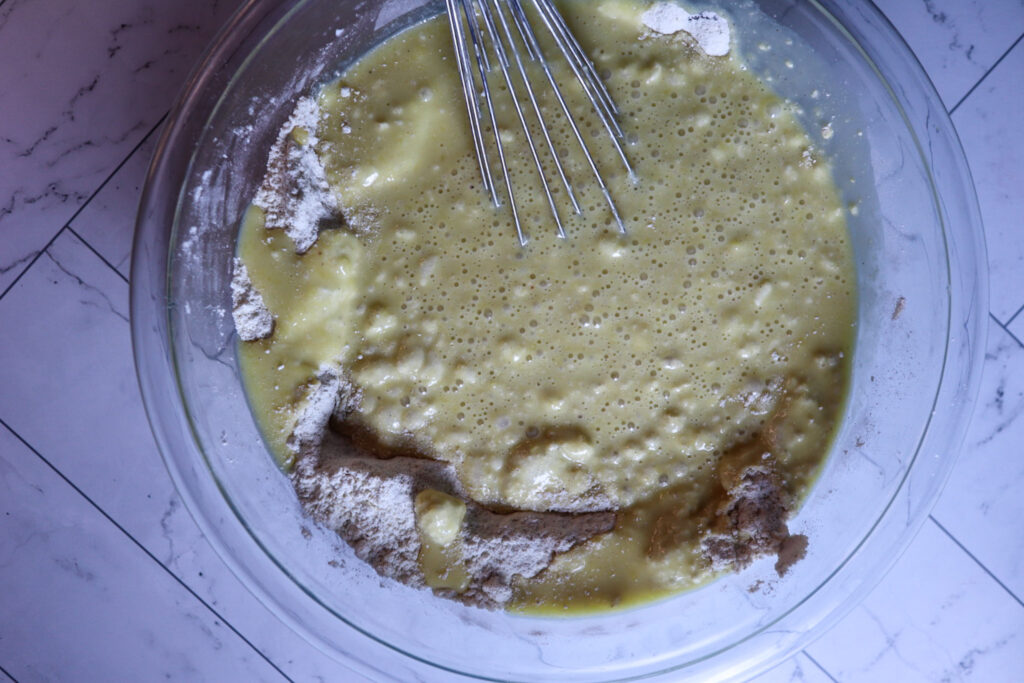
Add the eggnog mixture to the dry ingredients and mix until combined.
Preheat your waffle iron.
Coat your waffle with nonstick spray. Add 2 scoops or 1/2 cup of the eggnog waffle batter to the iron. Cook it according to the manufacturer’s instructions.
Remove the waffle from the waffle iron. Place it on a plate and set it aside.
Continue cooking the waffles until the eggnog waffle batter is gone.
Serve the eggnog waffles with maple syrup if desired.
Tips For Making Eggnog Waffles
Use your favorite gluten-free flour blend for making waffles. I made this recipe with a brand that shall not be named gluten-free flour blend, and the results were disastrous. The waffles had a weird aftertaste. The third time I tested this recipe, I used Cup 4 Cup gluten-free all-purpose flour blend, and I loved the results. However, you can use your favorite gluten-free flour blend.
Preheat your waffle iron before you add the batter to it. The waffles will have the perfect crispy edges.
Let the gluten-free eggnog waffle batter rest for 10 minutes before cooking the waffles. This will allow the gluten-free flour to absorb some of the moisture in the batter, creating a fluffier waffle.
Use a 3-tablespoon cookie scoop to add the waffle batter to the iron. My waffle iron took 3 scoops of waffle batter. But depending on your waffle iron’s size, you may need more or less batter.
Let the waffles cook. If you open the waffle iron too soon, the waffle may tear. Once it’s torn, you can’t put it back together. So follow the manufacturer’s instructions for cooking waffles and let it cook completely before you open the iron.
Homemade eggnog adds an irresistible flavor to these waffles. However, use your favorite store-bought brand of eggnog to make these pancakes.
Keeping Eggnog Waffles Warm
The oven is the best way to keep your waffles warm. The waffles will also develop a crispy texture from their short stint in the oven.
To keep your eggnog waffles warm, preheat your oven to 250°F. Place the waffles on a cooling set on top of a baking sheet. The cooling rack allows air to circulate on the bottom of the pancakes and develop a crispy underside.
Keep the waffles in the oven until you are ready to serve them.
Serving Suggestions
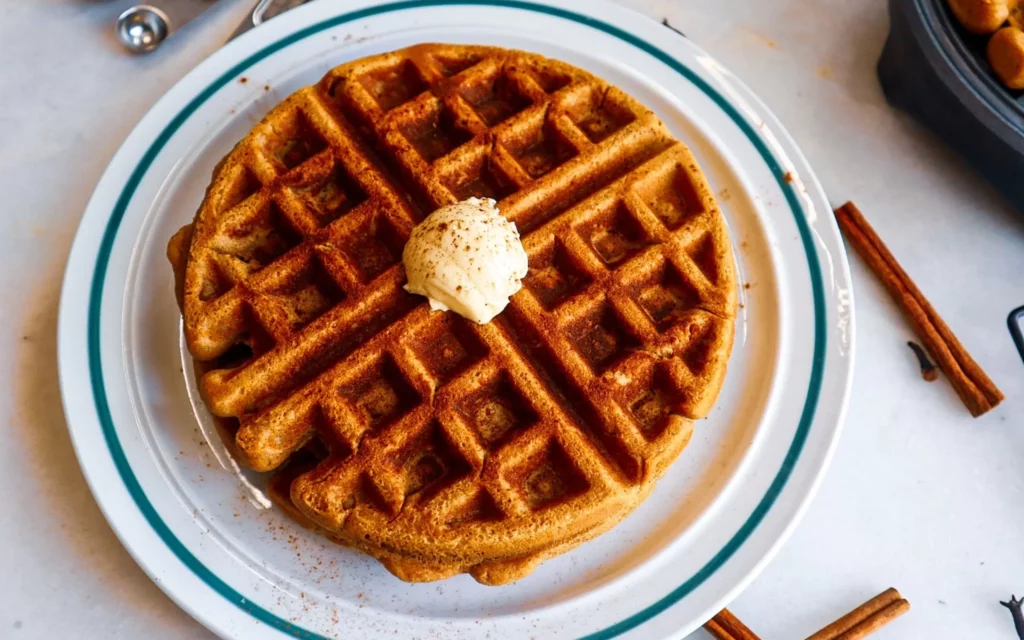
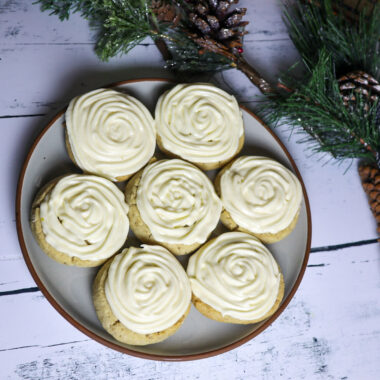
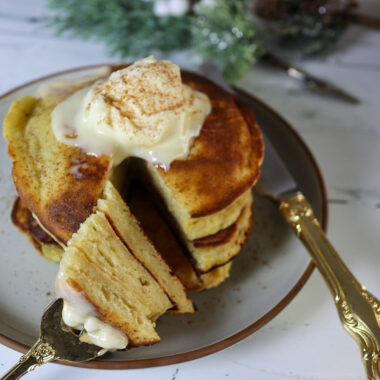
I used 3 tablespoons of cream cheese frosting I had leftover from making icebox vanilla sugar cookies 2 days ago to top these waffles. I also sprinkled cinnamon on top of the frosting. However, there are many options for serving these waffles. Here are a few variations you can consider for serving your eggnog waffles:
- Fruit Fusion: Add a burst of freshness by topping your eggnog waffles with sliced strawberries, blueberries, or bananas. The combination of sweet eggnog and tart fruits creates a delightful contrast.
- Nutty Delight: Sprinkle chopped pecans, walnuts, or almonds over your eggnog waffles. The nutty crunch adds texture and compliments eggnog’s rich, creamy flavor.
- Maple Madness: Drizzle warm maple syrup over your eggnog waffles for a classic and indulgent twist. You can also add a hint of pure vanilla extract to the syrup for an extra layer of flavor.
- Whipped Cream Wonderland: Top your waffles with a generous dollop of whipped cream. You can make the whipped cream more flavorful by infusing it with a splash of rum or brandy for an adult twist.
- Caramelized Goodness: Mix butter and brown sugar or coconut sugar together and cook it to create a caramel sauce. Drizzle this luscious caramel over your eggnog waffles for a sweet and gooey addition.
- Citrus Zest: Brighten up the flavors with a sprinkle of orange or lemon zest on top of your waffles. The citrusy notes complement the richness of eggnog.
Storage Instructions
Store your gluten-free eggnog waffles in an airtight container. They will last in the fridge for a week.
To freeze these eggnog waffles, place them on a parchment-lined baking sheet. Freeze them for 4 hours. This will keep the waffles from sticking together.
Place the waffles into a freezer-safe ziplock bag and freeze them for up to a month.
There are several options for reheating waffles. You can:
- Place them in the toaster and toast them for a few minutes until they reach your desired level of crispiness.
- Heat them in the air fryer at 350°F for 5-10 minutes, flipping them over halfway until they are crispy.
- Heat the waffles in a 300°F oven for 20 minutes until crisp. If you are reheating frozen waffles, heat them for 15 minutes.
More Recipes:
Gluten-Free Snickerdoodle Waffles

Gluten-Free Gingerbread Waffles
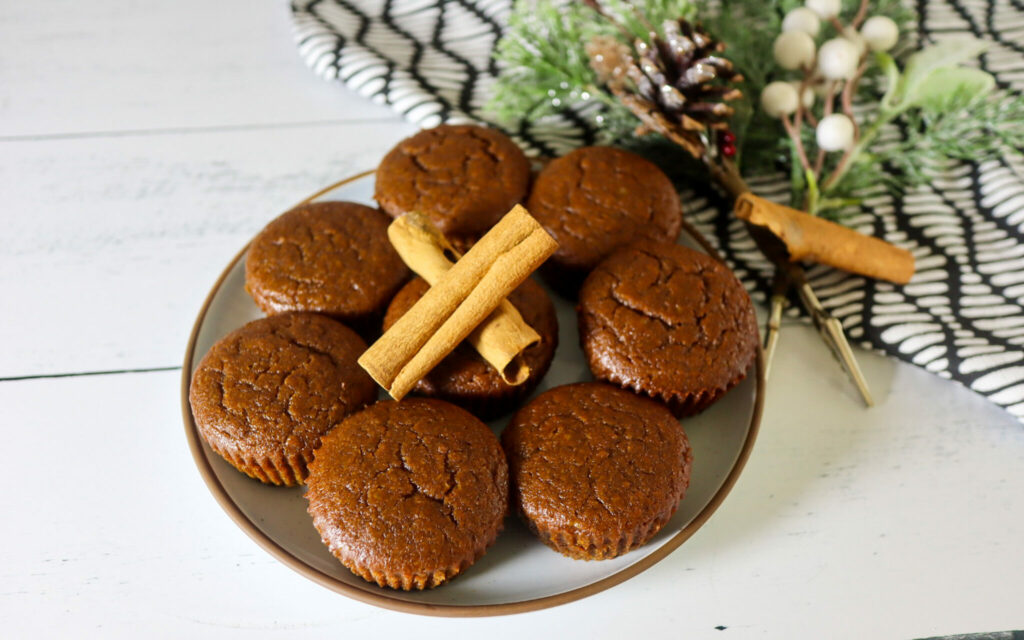
Gluten-Free Gingerbread Muffins

Gluten-Free Eggnog Waffles Recipe
5
waffles10
minutes15
minutes366
kcal25
minutesGet ready for a simple, friendly, and downright delicious journey that’ll leave you wishing for more mornings with eggnog to spare! These classic gluten-free eggnog waffles are made with creamy spiced eggnog, making the perfect dish for Christmas breakfast or brunch. So, let’s turn your leftover eggnog into a morning masterpiece.
Keep the screen of your device on
Ingredients
2 1/2 cups ½ cups gluten-free all-purpose flour
1/4 cup ¼ cup cornstarch
4 teaspoons baking powder
1/4 cup granular sweetener
1/4 teaspoon salt
½ teaspoon ground cinnamon or ground nutmeg
3 large eggs
2 teaspoons vanilla bean paste
1/4 cup melted butter, cooled
2 1/2 cups eggnog
Directions
- Whisk the gluten-free all-purpose flour, cornstarch, baking powder, granular sweetener, salt, and cinnamon or nutmeg in a large bowl.
- Whisk the eggs, vanilla bean paste, melted butter, and eggnog in a medium bowl until combined.
- Add the eggnog mixture to the gluten-free flour mixture and mix until combined. Let it sit for 10 minutes.
- Preheat your waffle iron.
- Coat your waffle with nonstick spray. Add some of the eggnog waffle batter to the waffle iron.
- Remove the eggnog waffle from the waffle iron, place it on a plate, and set it aside.
- Repeat steps 5 and 6 until the eggnog waffle batter is gone.
- Serve the eggnog waffles with maple syrup if desired.
Notes
- I scooped the waffle batter into the waffle iron using a 3-tablespoon cookie scoop to scoop the waffle batter into the waffle iron. My waffle iron took two scoops of waffle batter. Alternatively, you can also use a half-cup measuring cup to add the waffle batter to the iron.
Nutrition Facts
- Total number of serves: 5
- Calories: 366kcal
- Carbohydrates: 53.6g
- Protein: 8.6g
- Fat: 11.8g
- Saturated Fat: 7.3g
- Cholesterol: 138mg
- Sodium: 395mg
- Potassium: 41mg
- Fiber: 0.1g
- Sugar: 7g
- Calcium: 155mg
- Iron: 1mg
Did you make this recipe?
Tag @dafoodandmoodgyal on Instagram and hashtag it with
Like this recipe?
Follow @Foodandmoodcreations on Pinterest
Follow Us On Facebook
Follow us on Facebook


